
Things have taken a big jump forward in the last couple weeks with my locating a building contractor willing to take a risk with my design. And since he is also an amateur astronomer, he finds working on my little observatory more fun than his remodeling projects, so bumped me up in the schedule!

 But first, I realized I'd not posted on the progress made way last Spring! In April, just before it got ungodly hot in Tucson, work was started on the observatory over a LONG weekend by deciding on the exact location and installing a pier for the mount and telescope. It has a pretty good-sized footprint, so needed a 24" diameter pier sunk into the ground, to be isolated from the observatory building. From my reading, such a large amount of concrete needed some steel rebar, so I visited my local concrete supply place for cardboard sonotube, rebar and rounds for proper strengthening. Starting with straight 1/2" rebar (#4) and a hefty piece of pipe, L-shaped pieces were made and wired together. The round pieces were placed closer together at the bottom and top of the pier for added strength there. The cross pieces of the structure shown at right helped keep it centered in the 24" sonotube form.
In addition, before pouring the concrete, I borrowed a transit from work to take a sighting on Polaris, the north star, to establish a north-south line with which to align the pier and mount. With Polaris at upper culmination, ie above the pole, but exactly north, I made a mark on the air conditioner and outer fence to stretch a N-S string when the time came...

 The next day (Sunday, 13 April), Frank Koch came by to help with the concrete work. He is the husband of a friend and work mate of Melinda's and he is quite the friend to have, volunteering to help with pouring over a ton of cement on a hot Spring day! The one advantage of casting the pier was that the mixer could be parked in one place and just dumped into the pier location. His mixer was a beefy gas-powered model, which hadn't been used in a while... After spending the better part of an hour rebuilding the carburetor, it finally ran great and we got mixing. Frank hoisted the 90 pound bags of concrete (26 of them!) into the spinning mixer and I added water to get the correct consistency.
 Of course, I had the easier job there, but I also used a vibrator (visible in the wide shot at left) that I'd rented for the occasion to make sure there were no air bubbles down around the rebar that would weaken the structure. So between Frank's hoisting bags, and my adding water and vibrating the form, we were a well-oiled machine! It seemed to take no time at all before we neared completion.
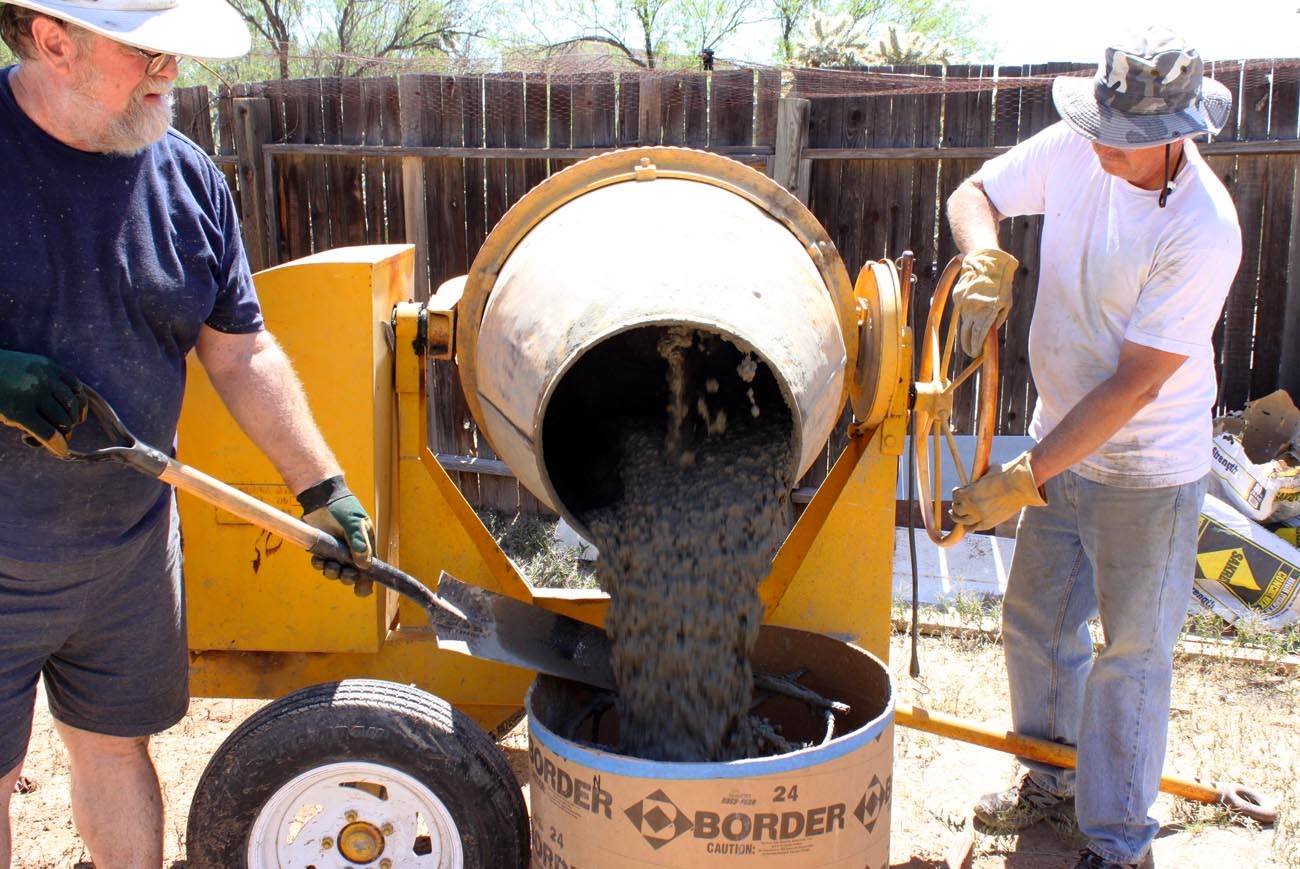
 Of course, Melinda took most of these pictures, and got just the last couple batches of concrete mix to go into the form. At left, Frank is dumping the mix, and at right, the last little bit goes in and we start work in smoothing the top surface and cleaning up.
So that brings you up to date to April! Like I said, lots has happened the last week, but that will have to wait for another post...


No comments:
Post a Comment